According to most, I have a rather large family for my age. And they're right. I am almost 30 and have 6 kids. One of my favorite things in life is to spend quality time with each of them and to teach them new things. The following are projects I did with my family at our home. Everything below (except the floor) was built from whatever was lying around in the shop and usually finished in a matter of an hour or two so they're not the most beautiful in appearance...but we're building more than furniture during these times, right?
The first is the pine summer picnic table we did this year.
Dad got new tires for his truck, so what did we do? Kept one of the old ones for a project, of course.
Cubbies for homeschooling supplies.
Large pine toy box.
Can't have enough books or places to put them...
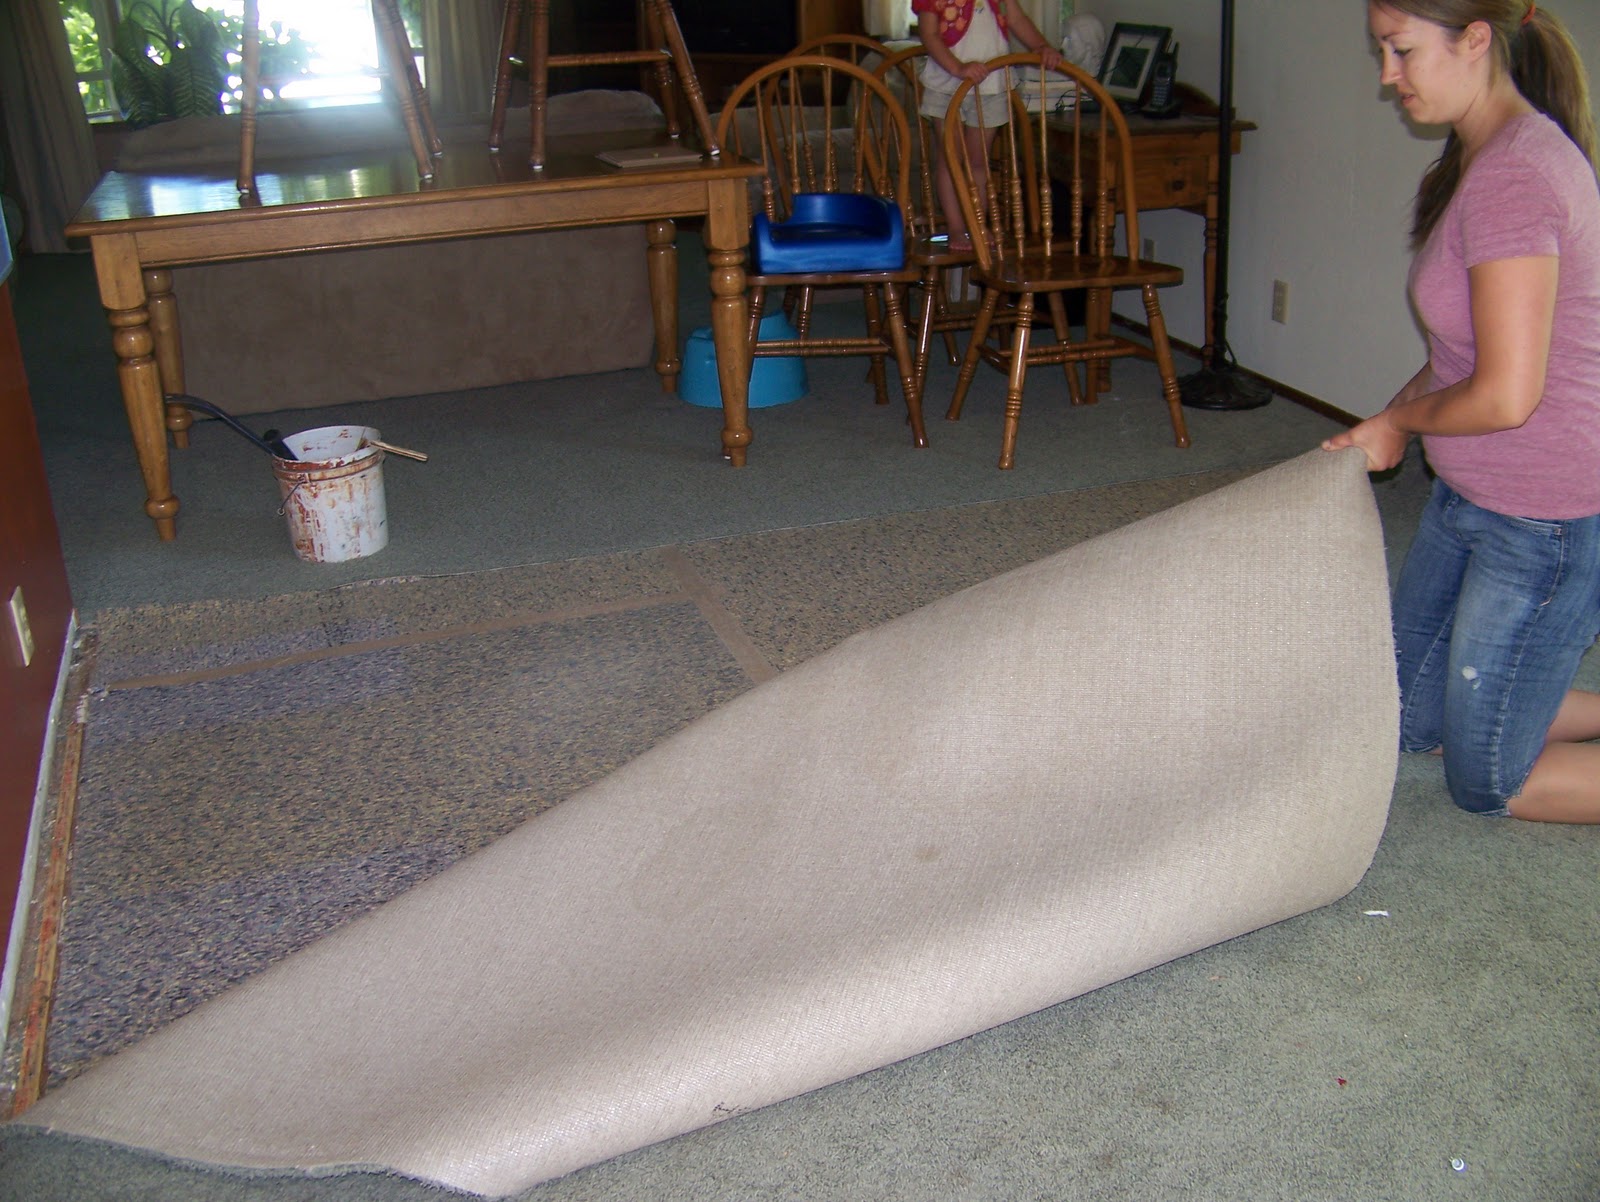
Mom wants a new floor...
The kids love to decorate for all the holidays...
Mom get's a new floor with a fresh look for the downstairs. Good job guys.
We do some "floating" shelves for the hardware.
A table (made using a jigsaw and a router only) and an oak "bow" sitting on the table (practice using a band saw).
A douglas fir book shelf and a puzzle family.
More books=more book shelves
Cutting board and banana holder (daughters idea for gift for Mom).
And a manzanita branch from the yard, made candle holder.


 I built a wood screen and hung it on the wall with an accent color painted behind. I installed lighting underneath the screen to cast light inside the box and on the wall. It serves as a backdrop to this homeowners religious shrine.
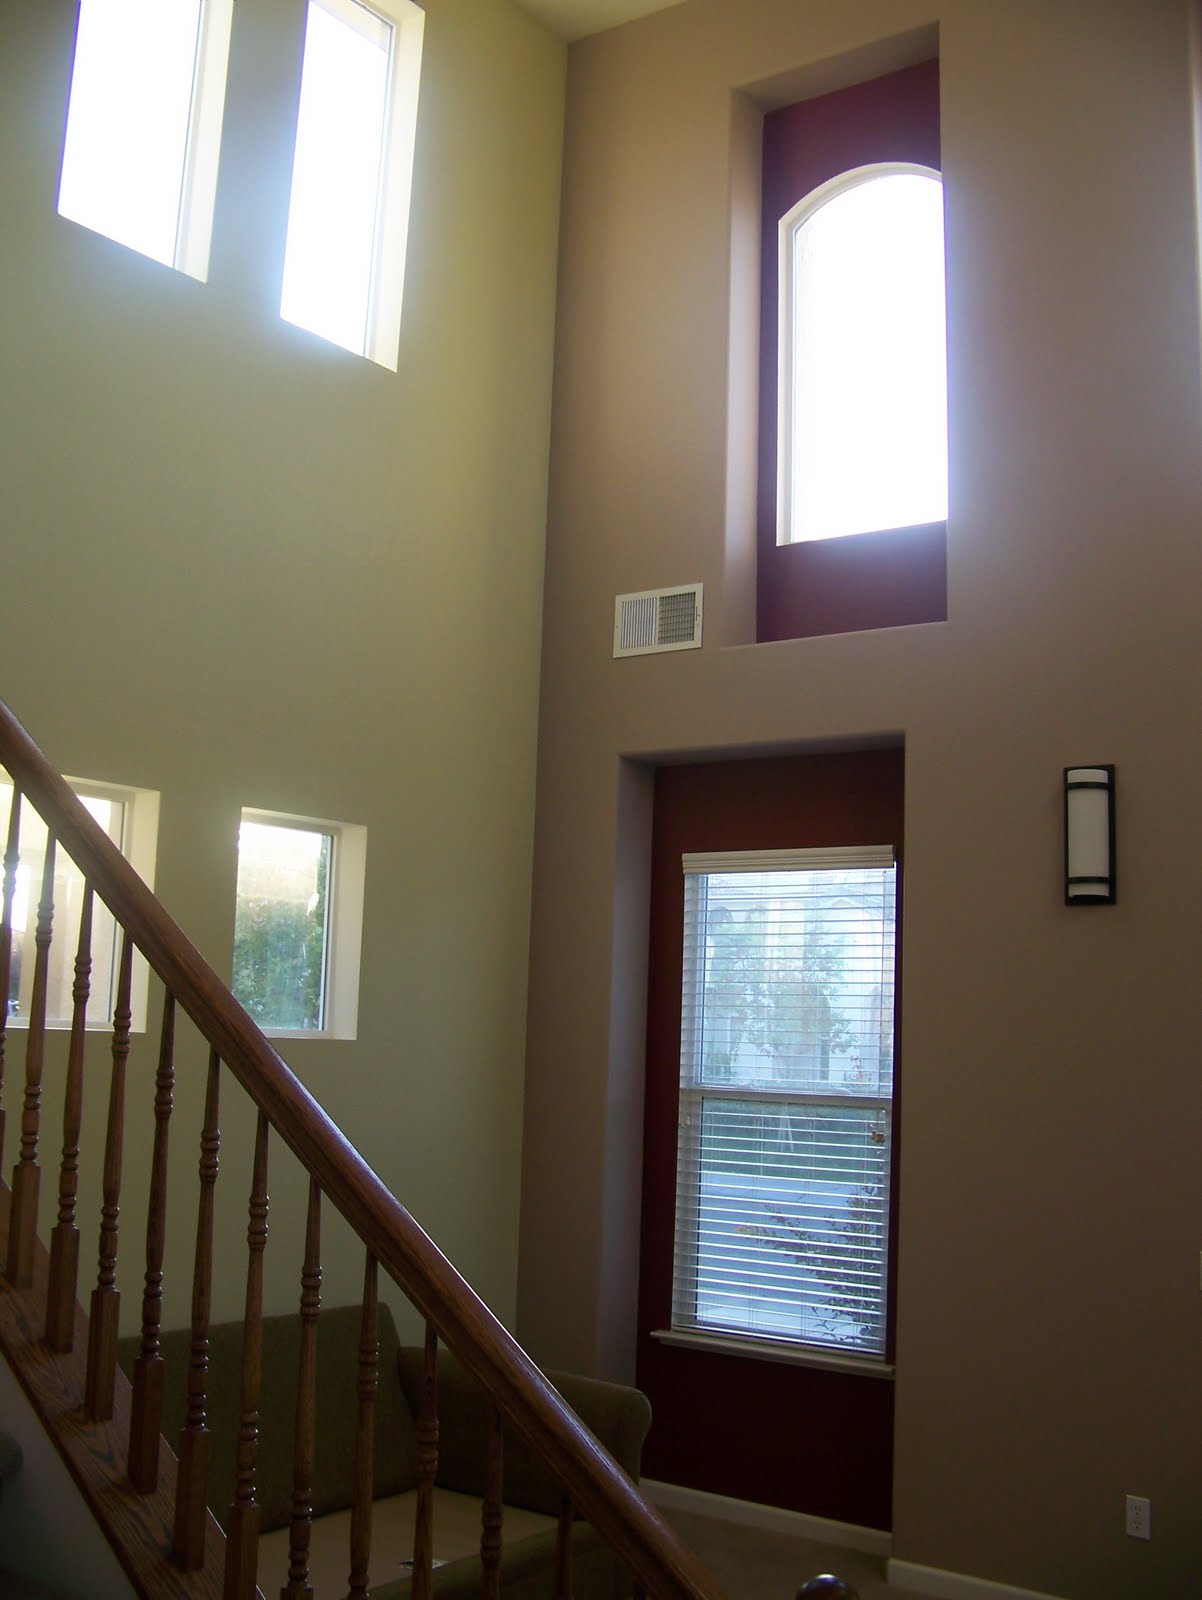
 The following pictures are of some of the other rooms I painted...the colors and feel of the home were very peaceful to me. It felt good every time I walked into a room.

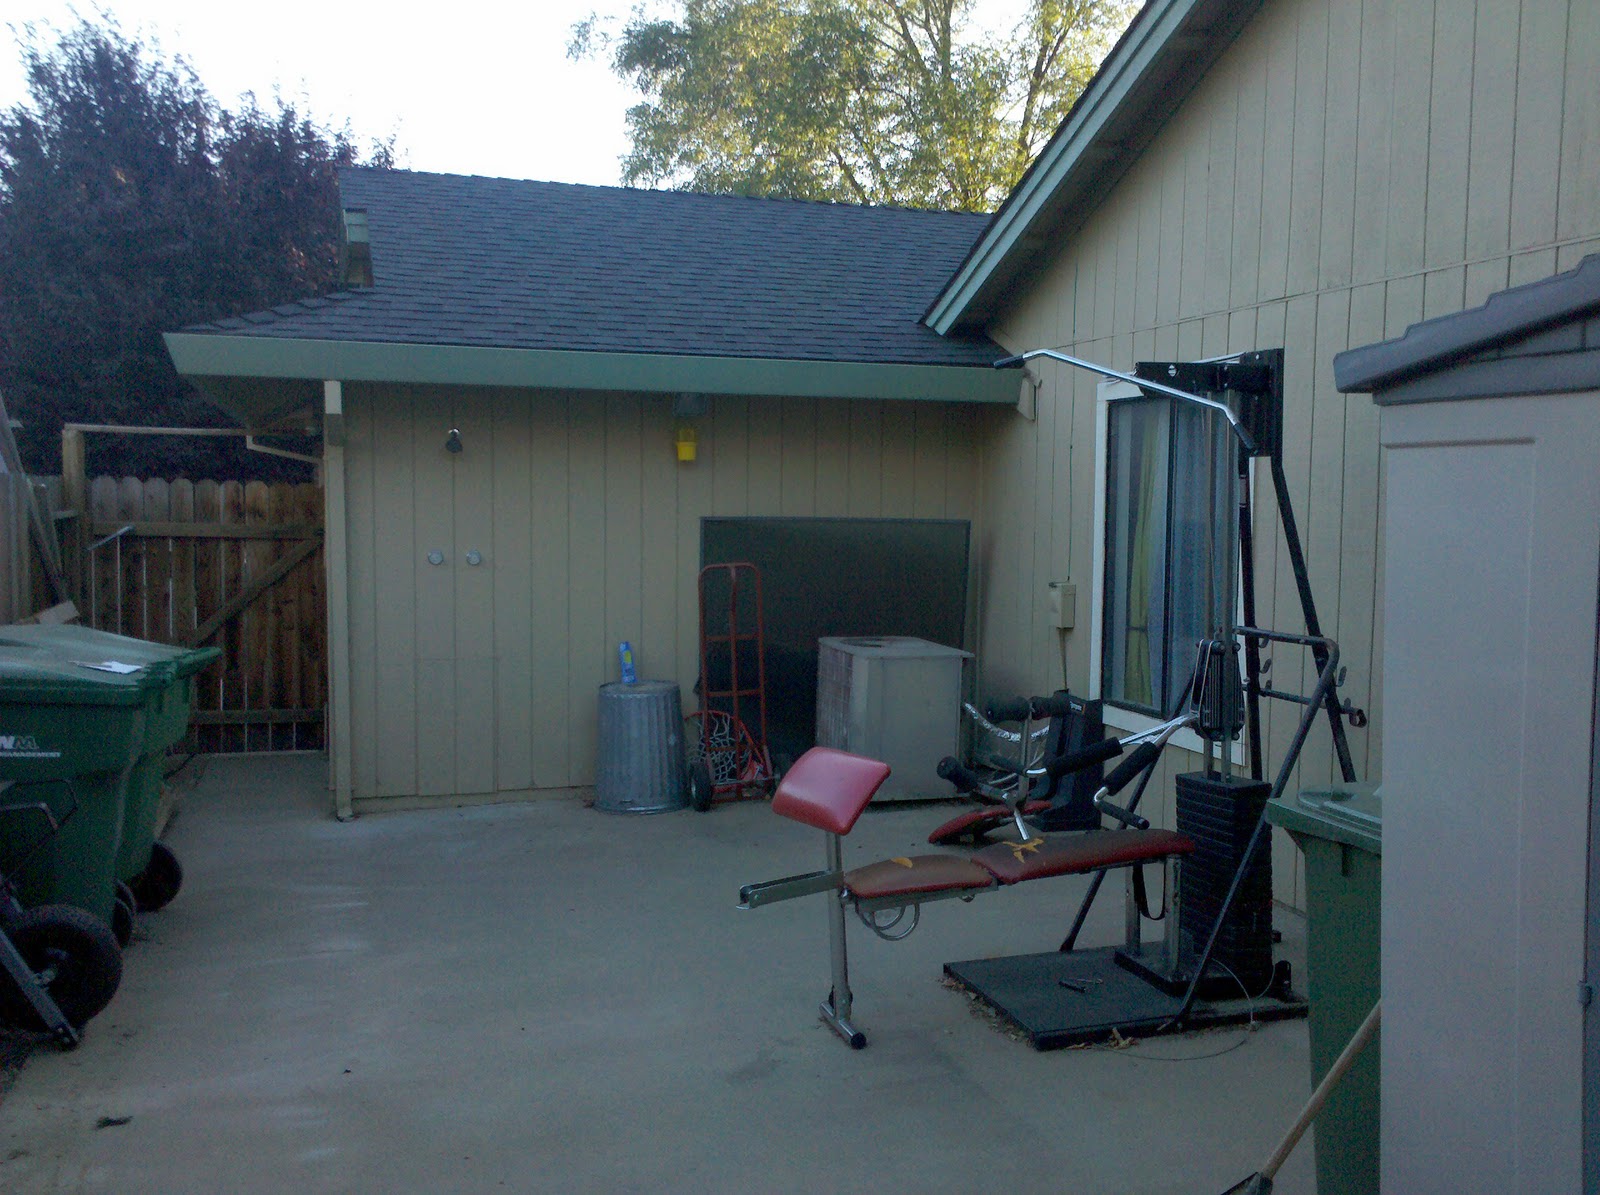
 I came to this job through referral. As you can see, this deck was above the garage. I was called in because the existing terracotta-tiled deck was dumping water into the garage every time it rained. There was absolutely no water proofing attempted by the previous contractor. I completely ripped out the deck and found tile set directly on plywood with nothing stopping the water from soaking everything. I completely rebuilt it, poured light weight concrete and acid stained it. Then I went to town building the steps and railing. The stairs now double as a water tight storage area with access from inside the garage.
 A little paint, a little stain and voila! Major improvement.
 Some extra effort in cutting acorns and post caps and a few little frills make the deck stand apart from the others in the neighborhood. Other things I did for this project were: install whirly birds and skylights to the roof, re-finish some old hard wood floors found under the carpet, a gingerbread screen door, new decks all around, added a porch roof to the back of the home, dug about 60 yards of dirt from under the home and built a motorcycle shop, new garage door opener, new gutters, and a beautiful custom built armoir for the master bedroom, interior paint, tile in the kitchen, laundry and bath, some tree clearing and septic tank/leech field service. I stayed busy hear for quite a while. The jobs kept coming!