A Home Builder and Woodworker residing in Cameron Park, California

A site showcasing my work from home building, to woodworking, to many other projects. Look around and leave a comment if you feel like doing so, they are appreciated. If you live in Northern California and are looking to have something done along the lines of what you see in the pictures, let me know. I would love to help.

Saturday, April 23, 2011

A rustic set of twin over twin bunk beds for the kids

Homemade beds I made for my little angels...

...and my little men.  I didn't like the metal bunk I had in the boys room or the three different beds for the girls room so I made some relatively inexpensive ones using air-dried Douglas-fir, iron, and a few pieces of hardware.  If there is a nighttime gathering place for story time or night prayers it tends to be in the boys room on the bottom bunk so I allowed room enough for mom and I to sit up and read to the kids without hitting our heads on the top bunk, whereas with the girls, I made it standard height with a few frills and an extra ladder for getting up..

What started out as an already immaculate and well decorated home turned out even more impresive after the minor kitchen and bath remodels and new hardwood under their feet!

The people who live here were very happy with the improvements I made to their home.  They are almost to the stage in their lives where they are ready to retire.  They have lived in the home for 20+ years, since it was built and mentioned the possibly of moving out of state to be closer to their children and grandchildren after retirement.  I told them at the table before any work began, that they would likely fall in love with the home all over again and would choose NOT to move after all this was done.  Near the end of the project, the man of the house said "Hey, Forrest.  Remember that love factor you warned us about?  I love this house again!"  As unpopular as I may be with their out-of-state relatives, I know they will "love" living in their home once again.  Above and below:  The very boxy, drywall fireplace got a more elegant look.

The homeowners saw a mantle I had done before and decided that they also wanted to incorporate one in their home that reflected their tastes.  One that would cozy it up a bit but not be too extravagant or ornate.  Demolition was minimal, as I built the new mantle to wrap around the existing one.  A detail not shown in this picture is a gold metal band on the outer edges of the tile against the wood floor and the black metal fire place, matching the gold hardware on the fireplace and throughout the home.  A nice feature.
Many rooms of the home got a tile floor makeover.  The vinyl flooring was clean and functional, however, with all the upgrades happening to the main house, it just wasn't going to be up to par.

Several bathrooms, a laundry room, and walk-in pantry were all spruced up with the new floors.  The bathrooms got new plumbing and toilets as well.
1000 sq. ft. of new hardwood replaces carpet, tile, and vinyl flooring in most of the lower floor with new baseboards in every room.  Above is a look at the entryway.

Another look at the entry.

Above:  What the entry used to look like.
New hardwood and granite in the kitchen=amazing difference!

I added a few inches on the island's depth to accommodate bar stools.

Thursday, January 27, 2011

This week: Removing a load-bearing wall for more openess

 My friend Tim T. and I are tearing out a wall dividing the family room from the kitchen and dining rooms.
There goes the drywall and insulation.  As closed off as it was, this is already looking like an improvement!
 Here, we built two temporary walls to support the ceiling joists on either side of the existing wall before we removed it.  The funny thing about the job was when we were asked by another builder to remove the wall, we were told that the wall was non load-bearing, meaning the wall was not holding up any part of the ceiling or roof.  He wanted us to do the job for the price that he agreed to do it for.  When I first laid eyes on the wall, I would've told you it was a major part of the ceiling and roofs support system without even climbing in the attic.  Upon further inspection, I saw it was in fact holding half of the houses roof up and the dining room and family room's ceilings.  Oh well.  It's just scary to think about what might have happened if he were to have removed the wall without building the two temporaries for the ceilings and climbing in the attic to support the two purlins holding up the roof.  Yikes...
 We placed a reclaimed redwood 6x12 beam on the ceiling. 
 The first 12x12 post.
 The second and third 12x12 posts and a 6x18 bar counter were next.  The two posts have notches in them to hold the bar counter in place.
 Next was the fourth post which holds the weight of the counter in the middle and a new step on the floor (also made from reclaimed lumber.)
 We wrapped the floor and rim with reclaimed oak to finish the project off.
 I am dead tired after a very long day and pleased with the results of the new look.

Wow!  It really looks different!  What do you think?

1/2 of last week: Repairing and refinishing a solid oak floor


 The Wilde family needed about half their homes 11-year-old solid oak flooring repaired.  There were a lot of areas that were damaged by scratches and water.  In the kitchen and dining areas the flooring had 1/8 in gaps between boards.  I marked the floor with tape to outline the problem areas, then sanded the floor to remove the finish and remove the scratches and dings.  I used a commercial drum sander first with 36, 50, 80, and 100 grit papers.  I used a commercial 9" orbital sander (edger) to get areas close to the walls, corners, and under cabinets.  I used a couple of 6" orbital palm sanders using progressively higher grit papers to finish the details.
Next, I filled in all the cracks, gaps and holes with a quality wood filler using a trowel and putty knife.
 Then I sanded it all down again with just the two palm sanders and 150, 180 grit papers.  Then I vacuumed the floor very well and felt with my hand to make sure EVERY little piece of dust was off the floor.
 Here is the wood-filler product I used for this floor.
 Next, it was ready for some stain touch-up on the maple inlay and a first coat of polyurethane.  Notice the large fan in the back window.  When finishing a floor you have to be very defensive against fume inhalation and fire.  A build up of toxic fumes could ignite like a bomb with just the flip of a light switch.  I don't use portable lights or other power tools until the floor is dry the next day.  I opened all the windows and used two fans to circulate air in and out.
 Next, I sanded the first coat using palm sanders and 220 grit papers.  Then I removed all the dust from the house again.
I forgot to take a picture with the final coat but will when I go back to collect my furniture dolly and other tools.

Friday, January 7, 2011

Beating the heat...

 I built the purgola in a day (solo).  Not so easy by my self.  Started out the day with no plans and still needing to get the spruce and hardware from the lumber yard.  I designed as I went and finished the day with all the routed edges and hardware primed and ready for 2 coats of finish and installed clear plastic roofing to keep it dry as well.  I remember sleeping well that night.  Check out the before and afters...

 Then later, I took out some windows...
 and installed 3 slider doors.
 And added exterior lighting to the newly shaded area with some trim to match.

I thought I would throw this in here, well, because yesterday my first follower suggested I do so

According to most, I have a rather large family for my age.  And they're right.  I am almost 30 and have 6 kids.  One of my favorite things in life is to spend quality time with each of them and to teach them new things.  The following are projects I did with my family at our home.  Everything below (except the floor) was built from whatever was lying around in the shop and usually finished in a matter of an hour or two so they're not the most beautiful in appearance...but we're building more than furniture during these times, right? 
 The first is the pine summer picnic table we did this year.
 Dad got new tires for his truck, so what did we do? Kept one of the old ones for a project, of course.
 Cubbies for homeschooling supplies.
 Large pine toy box.
 Can't have enough books or places to put them...
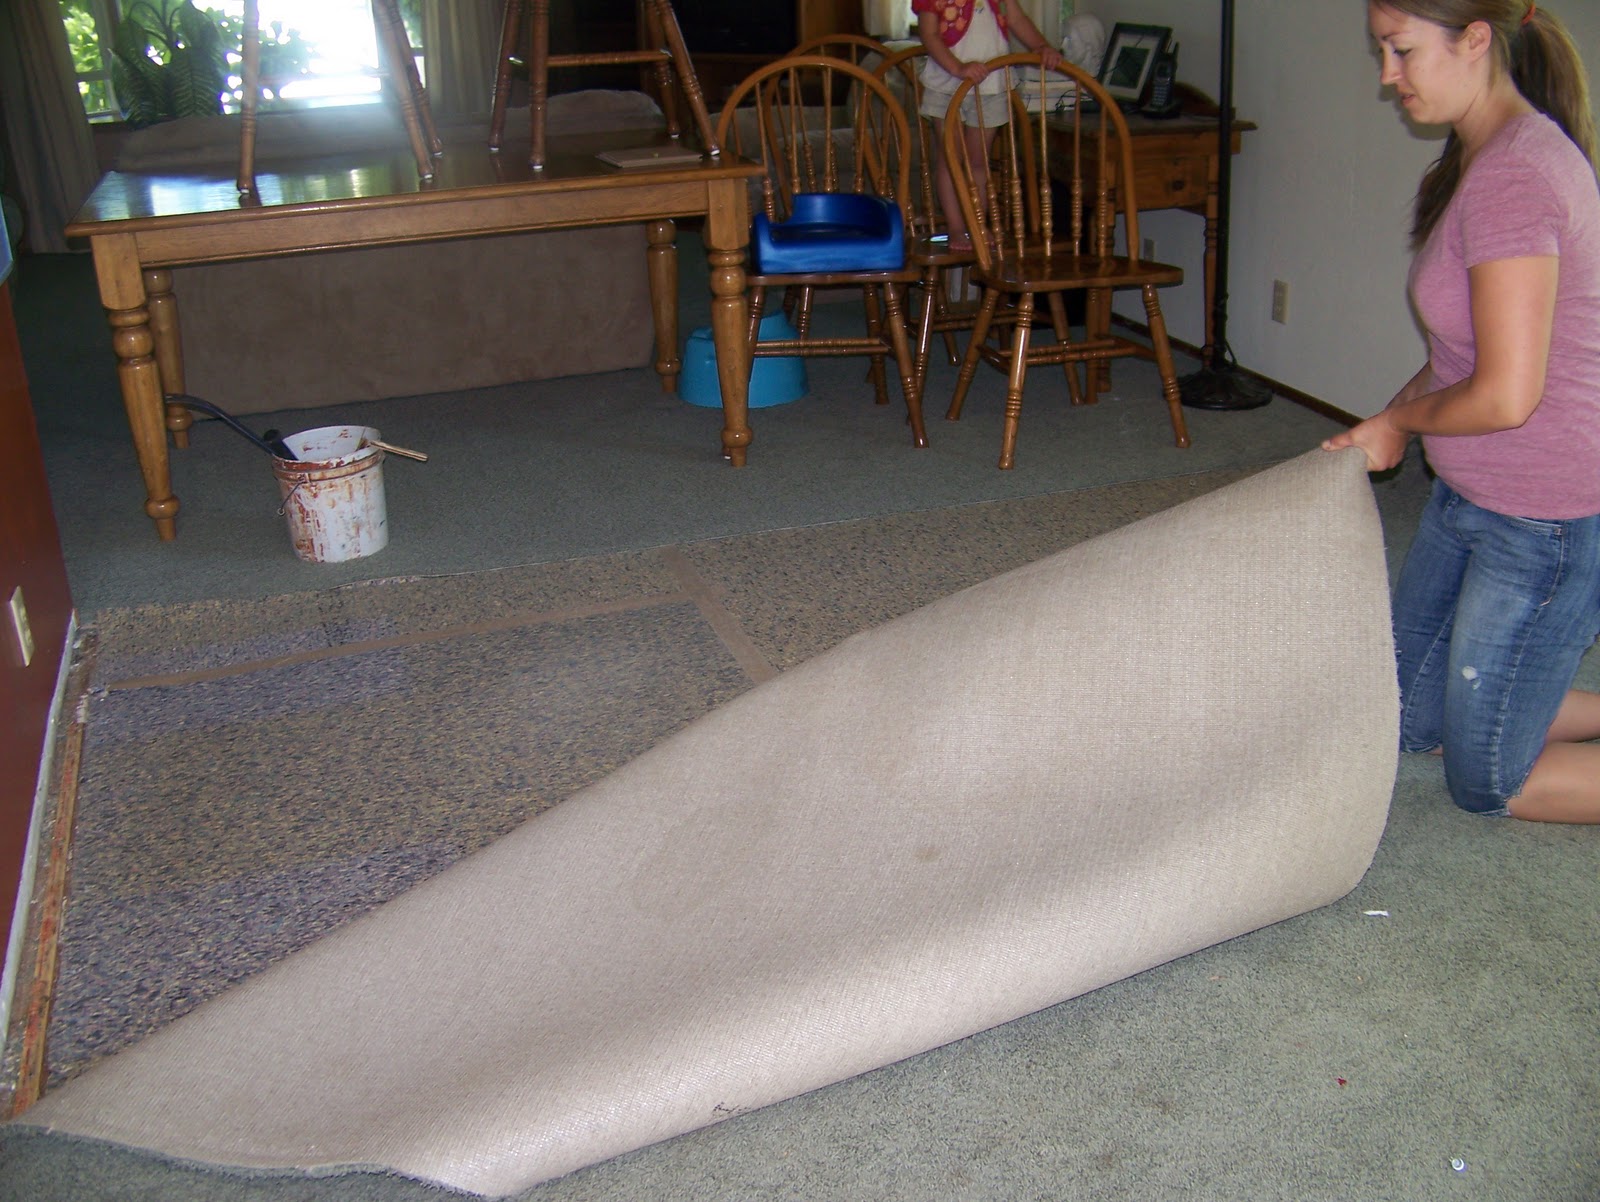
 Mom wants a new floor...


 The kids love to decorate for all the holidays...

 Mom get's a new floor with a fresh look for the downstairs.  Good job guys.
We do some "floating" shelves for the hardware.
 A table (made using a jigsaw and a router only) and an oak "bow" sitting on the table (practice using a band saw).
 A douglas fir book shelf and a puzzle family.
 More books=more book shelves
 Cutting board and banana holder (daughters idea for gift for Mom).
 And a manzanita branch from the yard, made candle holder.